
My style/taste was evolving, and I had my heart set on a tufted wingback bed (I'll go deeper into that in another post), and I had become obsessed with two things....burlap & nickel-finish nail-head trim. My wheels started turning, and soon enough I knew exactly what I wanted to do! Because the letters were white, and so was my bedroom wall, I knew I needed to get creative. I could have painted them, but I had another idea in mind. I bought two large art canvases at Micheal's (11x14? 16x20 maybe? can't remember the exact size, but they were pretty big), I ordered nickel nailhead trim from Beacon fabrics & notions (I just googled "Nickel Nail-head Trim and stumbled upon them), and I bought a few yards of natural burlap from Walmart. I used my staple-gun to staple the burlap around the canvases (I just stapled it into the wood frame of the canvas), and then used E-6000 to adhere the large wooden letters to the center of each of the canvases (I wasn't blogging then, so I of course failed to take pictures of the beginning stages of the process - Duh!).
Here they are semi early on in the process - the letters were glued to the burlap-wrapped canvases....
(*tip: I didn't do this, but if I made these again, I would secure the burlap to the canvas with glue (or something) prior to staple-gunning it on. Once I attached the letter, it was so heavy that it sort of made the the canvas itself wobbly. It was glued on tightly, so it wasn't really a problem, just something to note.)
 Then I began to add the nail-head trim. Nail-head trim is SO easy!! It comes on a roll, and only every fifth nail needs to be nailed in.
(*tip: I used a rubber mallet instead of a real hammer so as not to damage the pretty nail-heads)


And here they are all finished!! I was so pleased with myself and so happy with how they turned out. I was sort of new to crafting at the time, so I was sure that something would go awry, but my project was a success and I was thrilled!!
 Once they were done, they sat in my crafting-area for a while. My room hadn't quite come together yet (my dream bed was in the works, and my dream nightstands were too), and I didn't want to just put them up all willy-nilly, so I waited. And waited. And....waited! Until finally, when the room was pretty much set, they found their home....
My side....
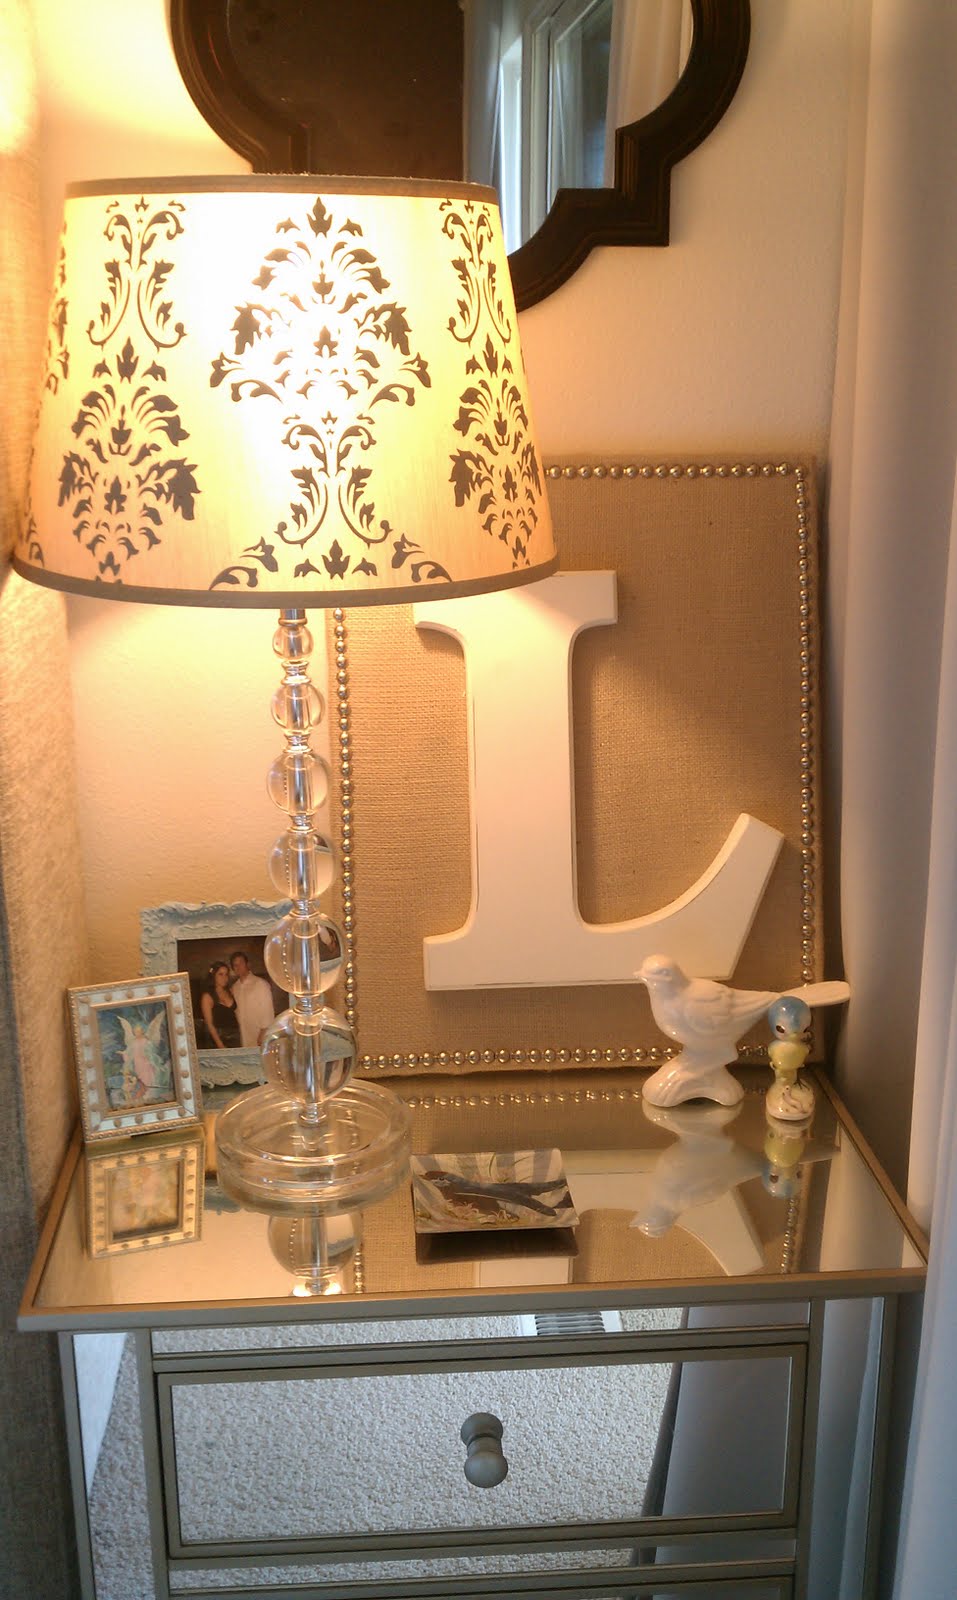


L-O-V-E SO SO SO SO MUCH!!!!!!!!
ReplyDeleteI need a W for my little one!!!
ReplyDeleteI love the burlap and nailhead. So pretty!
ReplyDeleteSuper cute! I love the big white letters against the burlap! And that little birdie next to the "L" is adorable!
ReplyDeleteHow awesome is this!!!! And I love your blog header.....
ReplyDeleteThanks for linking to "Meet Me On Monday"...
Take care,
Lisa
Hi I found your blog via pinterest. What fabric did you choose for the nina bed? I'm thinking about purchasing this bed from zgallerie
ReplyDeleteHi I found your blog via pinterest. What fabric did you choose for the nina bed? I'm thinking about purchasing this bed from zgallerie
ReplyDelete